Part 1: Introduction to Baking Chicken Tenderloins
When it comes to quick, tasty, and healthy meals, baking chicken tenderloins is a go-to for many. Not only are they easy to prepare, but they’re also versatile enough to suit any flavor profile you crave. Whether you’re a beginner in the kitchen or a seasoned pro, baked chicken tenderloins can be the perfect addition to your dinner table.
In this article, we’ll guide you through everything you need to know about baking chicken tenderloins: from what they are and why they’re such a great choice, to how to season and bake them to perfection. Plus, we’ll share tips and tricks for ensuring your tenderloins are juicy and flavorful every single time. Let’s dive in!
What are Chicken Tenderloins?
Chicken tenderloins are one of the most tender and lean cuts of chicken. Located beneath the breast, this part of the chicken is called the tenderloin due to its soft texture. Unlike chicken breasts, tenderloins are thinner, making them quicker to cook and ideal for various recipes, especially when baked.
These cuts have a mild flavor, which makes them perfect for marinating and absorbing seasonings. If you’ve ever noticed that your chicken breasts can sometimes be a bit dry or tough, tenderloins will surprise you with their naturally moist and juicy texture when baked properly.
Nutritionally, chicken tenderloins are lean, rich in protein, and low in fat, making them a great option for anyone looking to eat clean or lose weight. They’re a healthy choice for families and meal-preppers alike.
Why Bake Chicken Tenderloins?
You might be asking, “Why bake them instead of frying or grilling?” Well, baking is one of the healthiest cooking methods out there, and when done right, it keeps chicken tenderloins juicy and full of flavor. Here’s why baking is such a great option:
- Healthier Option: Unlike frying, baking doesn’t require excessive amounts of oil or butter. This means fewer calories and less fat while still maintaining all the flavor. It’s also easier to control your seasoning when baking, without the need for heavy oils.
- Less Mess: Baking is one of the cleanest cooking methods. You don’t have to worry about splatters from oil, and cleanup is typically much easier. This makes baking chicken tenderloins a great option for busy weeknights or meal prep.
- Faster and Simpler: Baking chicken tenderloins takes only about 20-30 minutes, depending on their size and your oven’s temperature. If you’re trying to get dinner on the table quickly, this method doesn’t disappoint. Plus, with the right preparation, you can make a batch in advance and use leftovers for lunches or other meals.
- Flavor Locking: When you bake chicken tenderloins, the heat from the oven seals in the natural juices, leaving the meat moist and flavorful. And because of their small size and thinness, they cook quickly and evenly, which helps avoid the dreaded dry chicken.
What Makes Chicken Tenderloins Ideal for Baking?
Chicken tenderloins are especially suited for baking because they are smaller and thinner than other cuts, meaning they cook faster and evenly. This means you won’t have to worry about undercooked pieces or unevenly cooked meat. Since the tenderloin is naturally more delicate, it holds its moisture well in the oven, making it less likely to dry out.
Moreover, chicken tenderloins are incredibly versatile. You can season them with anything from a basic salt-and-pepper rub to exotic spices or even a tangy marinade. They are a blank canvas for flavors, which is another reason why they are perfect for baking. Whether you’re in the mood for a savory garlic-herb combination or a spicy BBQ rub, baking chicken tenderloins gives you the freedom to get creative.
Another reason these tender pieces of chicken shine when baked is their ideal texture. Tenderloins have the ability to stay juicy without becoming too tough, which is sometimes a risk when baking thicker cuts like chicken breasts. So, if you’re aiming for tender, moist chicken every time, baking is the way to go. And since they cook quickly, you can whip up a delicious meal in less time than it would take to fry or grill them.
Part 2: Preparing Chicken Tenderloins for Baking

Now that we’ve established just how fantastic baked chicken tenderloins are, it’s time to get them ready for the oven. Proper preparation is key to ensuring your chicken comes out tender, juicy, and full of flavor. Whether you’re using fresh or frozen chicken, marinating, seasoning, or setting up your baking pan, the right steps will make all the difference.
Let’s break down how to prepare chicken tenderloins for a successful bake.
Thawing Frozen Chicken Tenderloins
If you’re working with frozen chicken tenderloins, the first step is to thaw them properly. This ensures they cook evenly and safely. There are a few methods for thawing chicken, but the safest and most effective options are:
- Refrigerator Thawing: The best method is to place the frozen chicken tenderloins in the refrigerator overnight or for at least 8 hours. This keeps the chicken at a safe temperature while it defrosts, preventing any bacterial growth.
- Cold Water Thawing: If you’re short on time, you can use the cold water method. Place the chicken in a sealed plastic bag and submerge it in cold water. Change the water every 30 minutes. This method can thaw chicken in 1-2 hours, depending on the size of the tenderloins.
Tip: Never thaw chicken on the countertop, as this can cause it to reach an unsafe temperature and increase the risk of foodborne illness.
Once your chicken tenderloins are thawed, be sure to pat them dry with a paper towel. This helps remove excess moisture, which is essential for achieving crispy, well-seasoned chicken.
Marinating Chicken Tenderloins
Marinating is one of the best ways to enhance the flavor of baked chicken tenderloins. A good marinade will tenderize the meat and infuse it with delicious flavors. Here’s why marinating is important:
- Flavor Infusion: Marinating allows you to introduce different flavor profiles, whether savory, spicy, or sweet. Tenderloins are especially good at absorbing flavors due to their thin nature.
- Tenderness: Ingredients like vinegar, lemon juice, or yogurt in the marinade break down proteins in the chicken, resulting in a more tender texture.
Simple Marinade Recipe for Baked Chicken Tenderloins:
- 1/4 cup olive oil
- 1 tablespoon lemon juice
- 1 teaspoon garlic powder
- 1 teaspoon onion powder
- 1 teaspoon dried thyme (or herb of choice)
- Salt and pepper to taste
Combine all the ingredients in a bowl or a resealable plastic bag. Add the chicken tenderloins, ensuring they are fully coated. Let them marinate for at least 30 minutes, or up to 4 hours for maximum flavor. If you’re in a rush, even a quick 15-minute soak will make a difference.
Tip: Avoid over-marinating, as it can cause the chicken to become mushy. For a more intense flavor, try marinating overnight.
Seasoning Chicken Tenderloins for Baking
If you’re not in the mood for a marinade or simply want a quicker option, seasoning is the way to go. The beauty of baked chicken tenderloins is their ability to shine with just a few key seasonings. Here are some seasoning ideas to elevate your chicken:
- Basic Seasoning: Sometimes simple is best. A basic blend of salt, pepper, garlic powder, and onion powder works wonders. You can also add a pinch of paprika for a little smokiness.
- Italian Herbs: Mix dried oregano, basil, thyme, and parsley to give your chicken a Mediterranean flair. This is perfect if you plan to serve your chicken with a side of pasta or a fresh salad.
- Spicy Blend: For those who like a little kick, try combining chili powder, cayenne pepper, cumin, and garlic powder. This spice mix gives your chicken tenderloins a delicious heat that’s sure to please.
- Lemon and Herb: If you’re craving something fresh, season your chicken with lemon zest, rosemary, thyme, and a touch of olive oil. This citrusy combination is light, fragrant, and perfect for spring or summer meals.
No matter the seasoning you choose, ensure the chicken is evenly coated. You can either rub the spices directly onto the tenderloins or toss them in a bowl to make sure every surface is covered.
Preparing Your Baking Pan and Oven
Before you pop those chicken tenderloins into the oven, you need to set up your cooking environment to guarantee they bake perfectly.
- Choosing the Right Baking Pan: A baking sheet or shallow pan works best for chicken tenderloins. You want enough space between the pieces so the heat can circulate evenly. If you’re aiming for crispy chicken, use a wire rack placed on the baking sheet, which allows the heat to hit the tenderloins from all angles.
- Preheating the Oven: Preheat your oven to 375°F (190°C). This temperature ensures the chicken cooks quickly while maintaining its juiciness. You can also bake at 400°F (205°C) for a slightly crispier finish, but be sure to keep an eye on it so the chicken doesn’t dry out.
Tip: If you have a convection oven, use the convection setting to circulate the air. This can help the chicken cook more evenly and crisp up on the outside while staying tender inside.
Part 3: How to Bake Chicken Tenderloins Perfectly

Baking chicken tenderloins is quick, easy, and an incredibly satisfying way to prepare dinner. If you’ve followed the previous steps—whether marinating, seasoning, or simply prepping them—you’re already on the right track. Now, let’s get into the specifics of how to bake chicken tenderloins for the perfect texture, flavor, and juiciness.
The key here is to balance cooking time, temperature, and spacing to ensure that your chicken is tender and moist without overcooking or drying out.
Step-by-Step Guide to Baking Chicken Tenderloins
- Preheat Your Oven
Always preheat your oven before placing anything inside. Set it to 375°F (190°C), which is a good, moderate temperature to cook chicken tenderloins thoroughly while maintaining moisture. For crispier results, you can bump it up to 400°F (205°C). - Prepare Your Baking Sheet or Pan
Line your baking pan or sheet with parchment paper or lightly grease it to prevent sticking. If you’re looking for crispier chicken, a wire rack placed on top of the baking sheet is a great option. This allows the air to circulate and the chicken to crisp on all sides. - Arrange the Chicken Tenderloins
Lay your chicken tenderloins in a single layer on the pan, making sure there’s enough space between them. Avoid crowding, as this can prevent them from cooking evenly. Overlapping pieces will result in uneven cooking and may leave you with some undercooked or overcooked spots. - Bake the Chicken
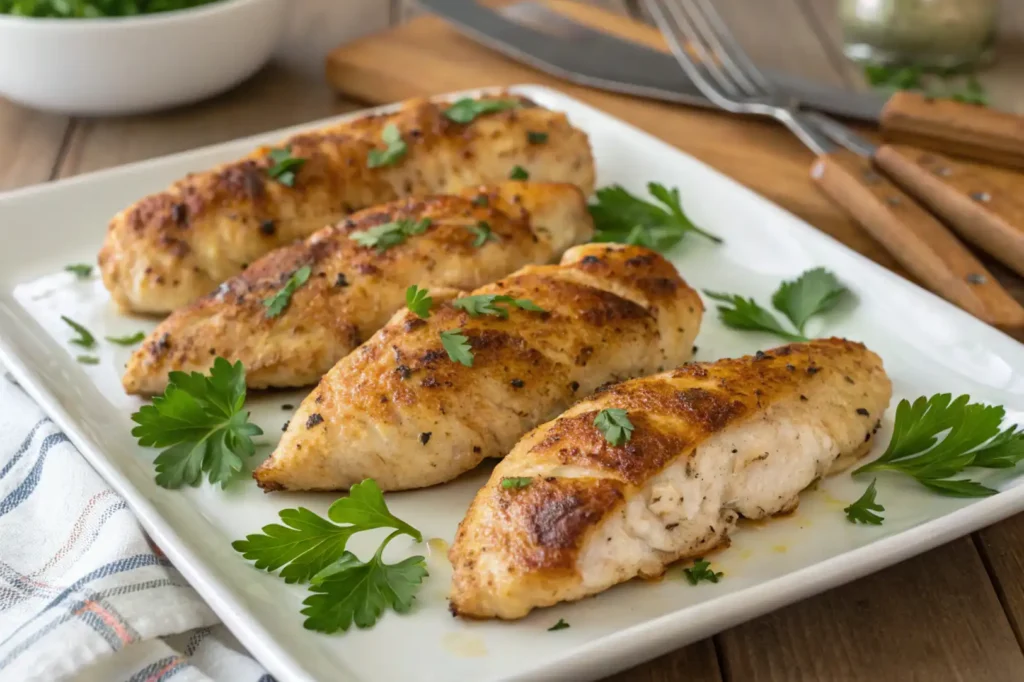
Place your pan in the center of the oven and bake for about 20 to 30 minutes, depending on the thickness of your tenderloins. Start checking around the 20-minute mark. Tenderloins are thinner than chicken breasts, so they don’t take as long to cook. - Check for Doneness
The best way to ensure your chicken tenderloins are cooked through is by using a meat thermometer. Insert the thermometer into the thickest part of the tenderloin. The chicken is fully cooked once it reaches an internal temperature of 165°F (74°C). If you don’t have a thermometer, you can cut into one of the pieces to check for clear juices. If the juices run clear, your chicken is done.
Tip: If you notice your tenderloins beginning to brown too quickly, you can loosely cover them with foil to prevent further browning while they finish cooking.
Common Mistakes to Avoid When Baking this recipe
Although baking chicken tenderloins is a simple process, there are a few common mistakes that could result in less-than-perfect chicken. Here’s how to avoid them:
- Overcooking
One of the biggest mistakes people make is overbaking the chicken. Since tenderloins are smaller and thinner than chicken breasts, they cook much faster. If you leave them in the oven for too long, they’ll dry out. Keep an eye on them, especially after the 20-minute mark. Overcooking is a surefire way to lose that juicy texture. - Not Preheating the Oven
Always preheat your oven to ensure that your chicken starts cooking immediately when you put it in. Cooking in an oven that’s not fully heated can cause the chicken to cook unevenly and lead to longer cooking times. - Overcrowding the Pan
It’s tempting to try to cook a lot of chicken at once, but overcrowding can result in uneven cooking. The heat won’t circulate properly, and the chicken will end up steaming rather than baking, which could leave the outside soggy instead of crispy. - Skipping the Resting Time
After the chicken is done, don’t skip letting it rest for a few minutes. Resting allows the juices to redistribute throughout the meat, ensuring it remains moist and tender. If you cut into the chicken right away, all the juices will escape, and you’ll end up with dry pieces of chicken.
Tips for Extra Crispy Chicken Tenderloins
If you like your baked chicken tenderloins to have a crispy, golden exterior, there are a few extra tricks to help you achieve that perfect crunch:
- Breadcrumb Coating
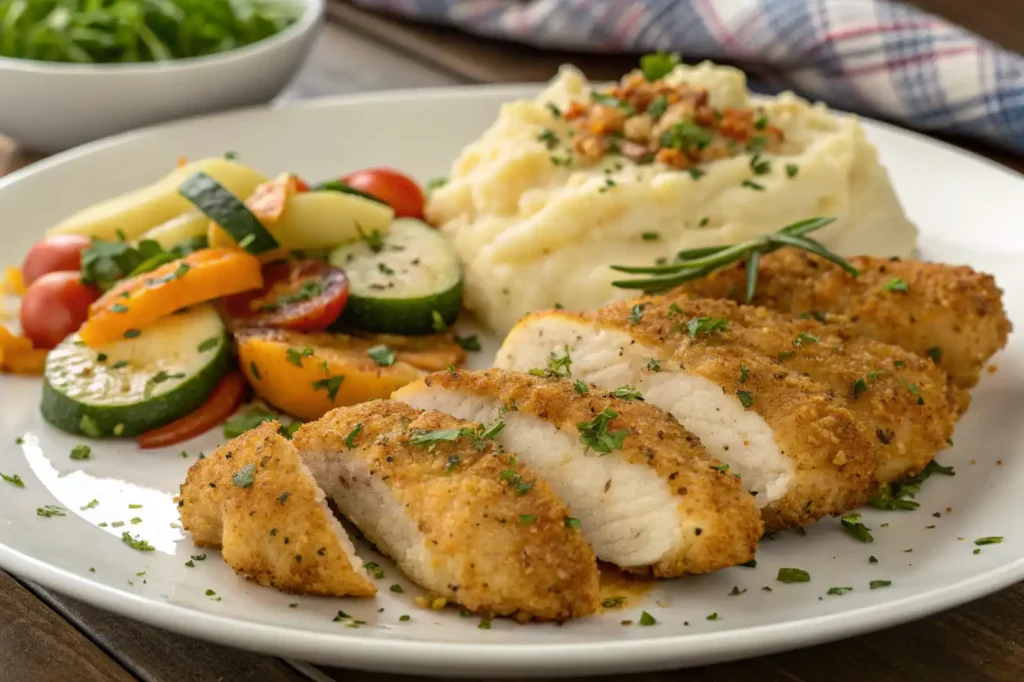
For crispy chicken tenderloins, coat them in breadcrumbs or panko breadcrumbs before baking. You can even season the breadcrumbs with garlic powder, Parmesan cheese, or paprika to add extra flavor. Lightly spray the coated tenderloins with olive oil or cooking spray before baking. This will help them brown beautifully in the oven. - Use the Broiler
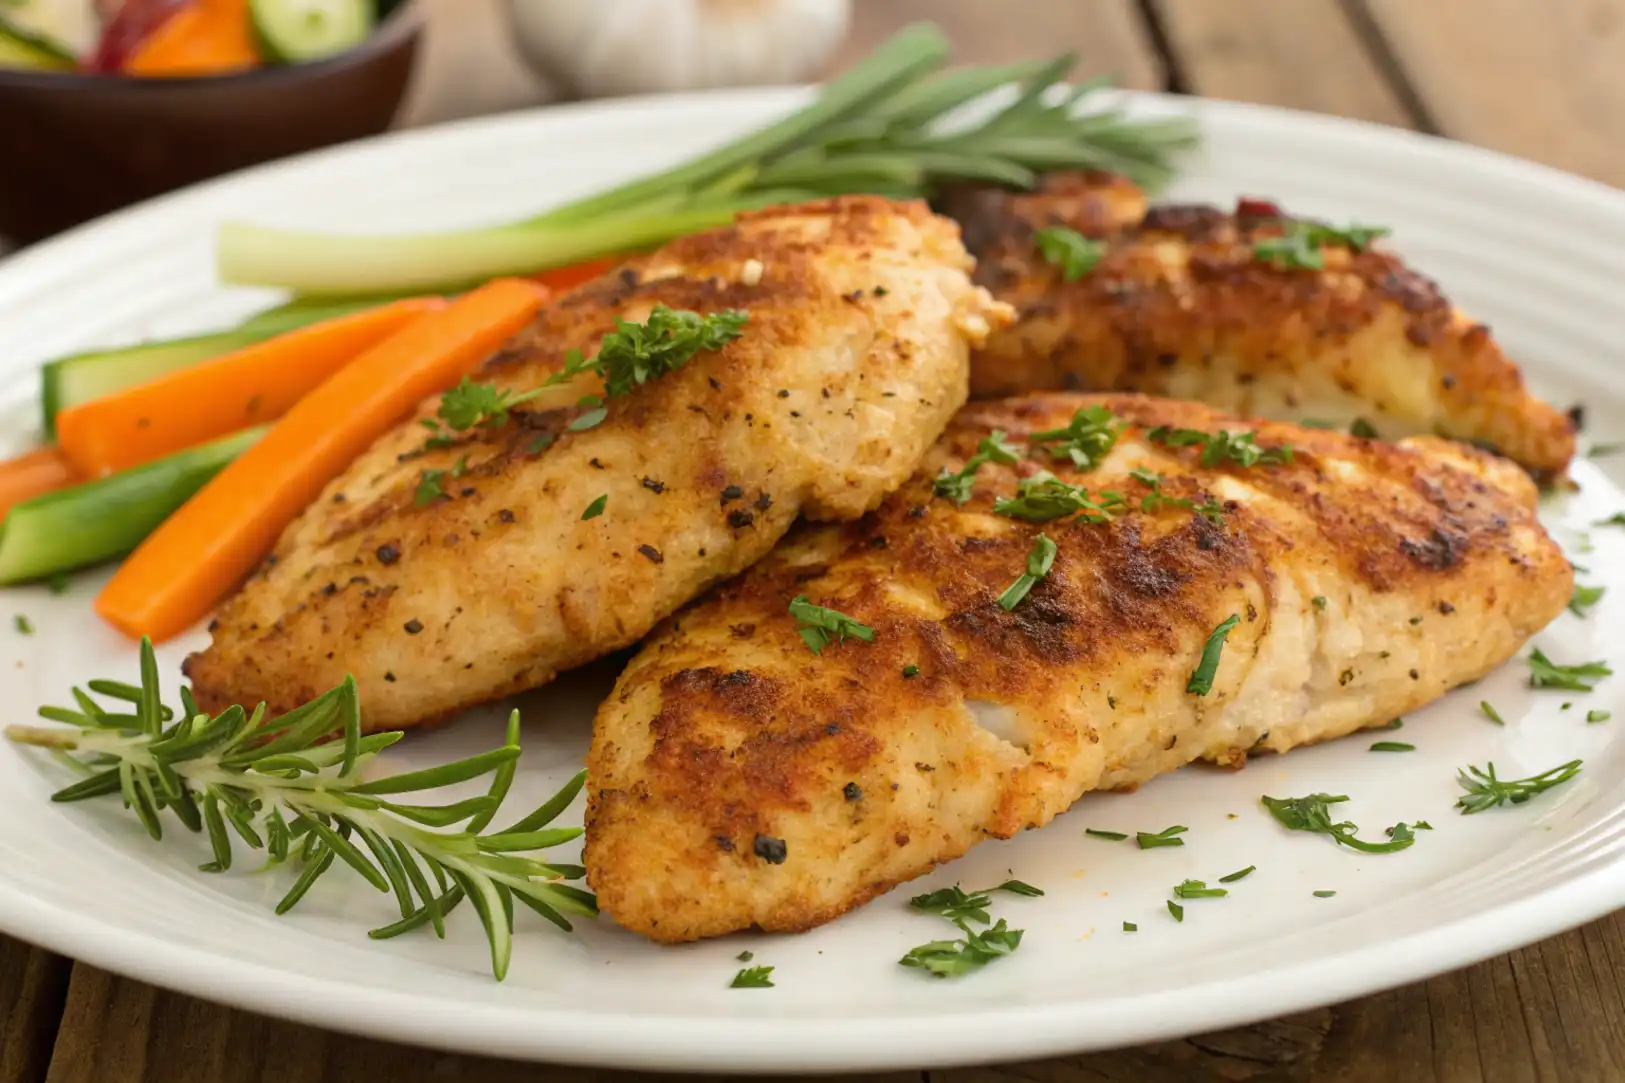
Once the chicken is nearly done, turn on the broiler for the last 2-3 minutes of cooking. This will give your chicken tenderloins that golden, crispy texture on the outside while keeping the inside juicy. Just be sure to keep an eye on them so they don’t burn! - Pat the Chicken Dry
If you’ve marinated the chicken tenderloins, or if they’ve been sitting for a while before baking, make sure to pat them dry before placing them on the baking sheet. Excess moisture on the surface can prevent the chicken from getting crispy. - Don’t Overcrowd
Space between the tenderloins allows for better air circulation, which promotes even cooking and crispiness. If the pieces are too close together, they’ll steam and lose their crunch.
Time-Saving Tips for Baking Chicken Tenderloins
Baking chicken tenderloins doesn’t have to take up much of your time. Here are a few time-saving tips to help you get dinner on the table faster:
- Meal Prep Ahead of Time
You can marinate the chicken ahead of time and store it in the fridge for a few hours or even overnight. This gives the chicken plenty of time to absorb the flavors, and it cuts down on the amount of time you need to spend cooking the day of. - Batch Cook
If you’re making a large batch of chicken tenderloins, bake them all at once and store the extras for later. Leftover baked chicken can be easily incorporated into salads, wraps, or used in sandwiches the next day. - Skip the Searing
Unlike some other chicken recipes that require searing the meat before baking, chicken tenderloins don’t need this extra step. Just season and bake—they’ll come out juicy and delicious every time.
FAQs Section
Is it Better to Bake Chicken at 350 or 400?
The answer to this question depends on the result you’re looking for. Baking chicken tenderloins at 400°F gives you a slightly faster cooking time and a crispier exterior, which is great if you prefer a golden, crispy finish. However, baking at 350°F can provide a more tender and juicy texture, though it may take a bit longer. For chicken tenderloins, 400°F is usually the preferred temperature because they’re small and cook quickly, and the higher heat helps lock in moisture while crisping the edges.
How Long Does It Take to Cook Chicken Tenderloins at 375 Degrees?
At 375°F, chicken tenderloins typically take around 20 to 30 minutes to cook through, depending on their thickness. Since tenderloins are thinner than other cuts of chicken, they cook relatively quickly. Always check the internal temperature with a meat thermometer—once it reaches 165°F (74°C), your chicken is ready to serve.
How Long Should Chicken Tenders Be Cooked at 400?
If you’re baking your chicken tenderloins at 400°F, they will cook faster, usually in about 15 to 20 minutes. The higher temperature allows for a crispier exterior while keeping the inside juicy. Make sure to check the internal temperature to ensure they’re fully cooked and safe to eat.
How Long to Cook Boneless Chicken at 375 Degrees?
For boneless chicken, the cooking time at 375°F can vary slightly depending on the size and thickness of the pieces. Typically, it takes 20 to 30 minutes for boneless chicken breasts, thighs, or tenderloins to cook at this temperature. Again, the most accurate way to know when the chicken is done is by checking the internal temperature with a thermometer, aiming for 165°F (74°C).
Conclusion
Baking chicken tenderloins is a simple, healthy, and delicious way to prepare this flavorful cut of meat. With the right preparation, seasonings, and baking techniques, you can achieve a juicy, tender chicken every time—whether you’re looking for a quick weeknight dinner or a meal prep option. The beauty of baked chicken tenderloins is their versatility; they pair well with countless sides and sauces, making them a go-to for busy families or anyone looking to enjoy a nutritious, satisfying meal.
Now that you’ve learned how to bake chicken tenderloins to perfection, it’s time to put these tips into action. Whether you stick to the basics or get creative with seasonings and marinades, we hope this guide helps you cook chicken tenderloins like a pro. Enjoy experimenting in the kitchen, and happy cooking!
You May Also Like :
How to Make Instant Pot Chicken Tacos: A Quick & Delicious Recipe

